How to Photograph Jewelry at Home: Camera, Lighting and Setup
How to photograph jewelry at home without a studio: window lighting, backgrounds, phone settings, sharp macro focus, and the shots you should generate instead.
 Daria BazankovaPublished 9 Aug 20269 min read
Key takeaways
- A north-facing window with a sheer curtain is a larger, softer light source than most sub-$100 light boxes, which is why it produces fewer blown-out highlights on faceted stones.
- Sharpness in close-up jewelry photos comes from a tripod and a 2-second timer, not from a more expensive camera. A current smartphone is enough for marketplace listings.
- Reflections are the central problem in jewelry photography: polished metal mirrors the whole room, so the fix is controlling what surrounds the piece rather than adding more light.
- A home setup reliably produces hero and detail shots. On-model, lifestyle, 360 and seasonal variants normally require a studio and a model, or AI generation from a single clean photo.
Most jewelry sellers start the same way. A ring goes on the kitchen table, the ceiling light is on, the phone is held six inches away. What comes back is a yellow cast, a hot white blowout where the stone should be, and the photographer's own shadow lying across the metal. Learning how to photograph jewelry at home is mostly a matter of removing those three problems, and not one of them needs a studio to fix.
Jewelry is the hardest category in e-commerce to shoot because it fails in two directions at once. It reflects everything in the room, and it is small enough that a millimeter of focus error destroys the shot. The fixes, though, are cheap: a window, a sheet of white paper, and something that holds the camera still. This guide covers the setup that works, the settings that matter, and the point at which generating the remaining shots is faster than photographing them.
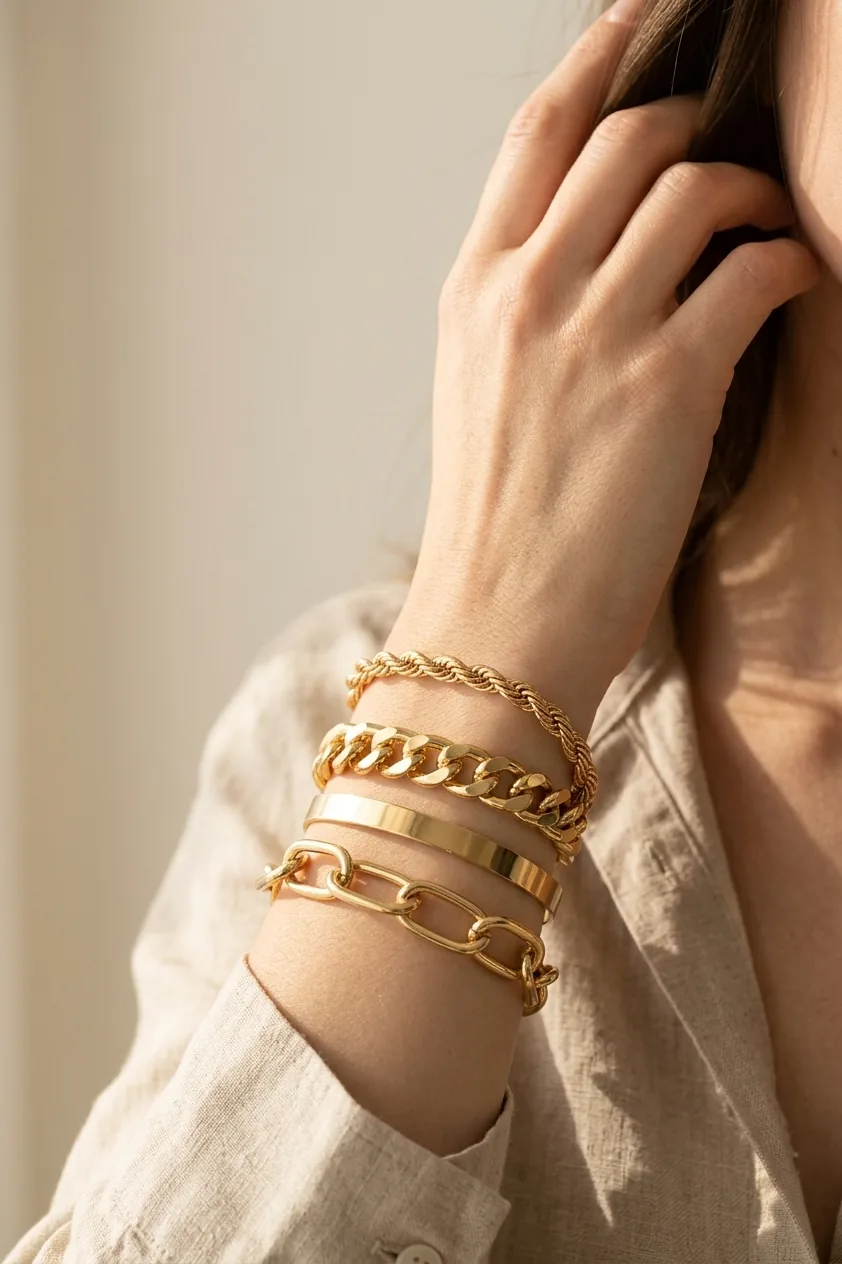
Everything below assumes you are working with what you already own. If you want the broader theory first, our complete guide to jewelry product photography covers why this category punishes bad lighting more than any other.
1. What Actually Goes Wrong When You Photograph Jewelry at Home
Before changing anything, name the defect. Almost every bad home jewelry photo is one of four specific failures, and each has a different fix.
| What you see | What caused it | What fixes it |
|---|---|---|
| A hot white blowout where the diamond should be | A small, hard light source hitting a facet head-on | Make the source bigger and move it off-axis |
| Brassy orange gold that looks like costume metal | Mixed color temperature: a warm ceiling bulb plus cool daylight | Kill every light except one, then set white balance |
| A grey smudge instead of chain texture | The camera focused on the surface behind the piece | Tap to focus on the piece, then lock focus |
| Your own silhouette reflected in a polished band | The metal is mirroring the room, including you | Shoot from a shallower angle and wear dark clothing |
The last one surprises people. A polished ring is a curved mirror with a roughly 180-degree field of view, so it sees your face, your phone, the window, and the light-colored wall behind you. Photographers solve this in studios by building a white tent around the piece. At home you solve it by removing what you do not want reflected.
2. Lighting: One Window Beats a Light Box
The single variable that decides whether jewelry looks expensive or cheap is the size of the light source relative to the product. A big source wraps around a curved surface and produces a soft, gradual highlight. A small one produces a hard white dot. Since a ring is about 20 mm across, almost anything counts as large, which is exactly why a window works so well.
Use a north-facing window if you have one, mid-morning or mid-afternoon, and never direct sun. If the light is harsh, tape a sheer curtain, a piece of baking paper or a white shower curtain across the glass. Then turn off every other light in the room. Mixing daylight with a warm bulb is what produces gold that photographs as brass.
The bounce card that does half the work
Place the piece 30 to 50 cm from the window so the light comes in from the side. The window-facing side will look right and the far side will fall into shadow. Stand a sheet of white A4 paper or card on the shadow side, about 15 cm away, angled back toward the piece. That bounce fills the shadow without adding a second highlight, and it costs nothing. For metal that still looks flat, swap the white card for a piece of black card on the lit side: a dark reflection along the edge of a band is what reads as a defined shape rather than a grey blob.
When a jewelry photography light box is actually worth it
A light box is not a lighting upgrade. What it actually buys you is a consistent seamless white background and repeatability across a hundred SKUs. Cheap boxes use bare LED strips, which are small hard sources, so faceted stones blow out inside them just as readily as under a ceiling bulb. If you photograph 200 pieces a month and need every white background to match, a box saves real time. If you photograph twelve, spend the money on a tripod instead.
3. Backgrounds and Props That Do Not Fight the Piece
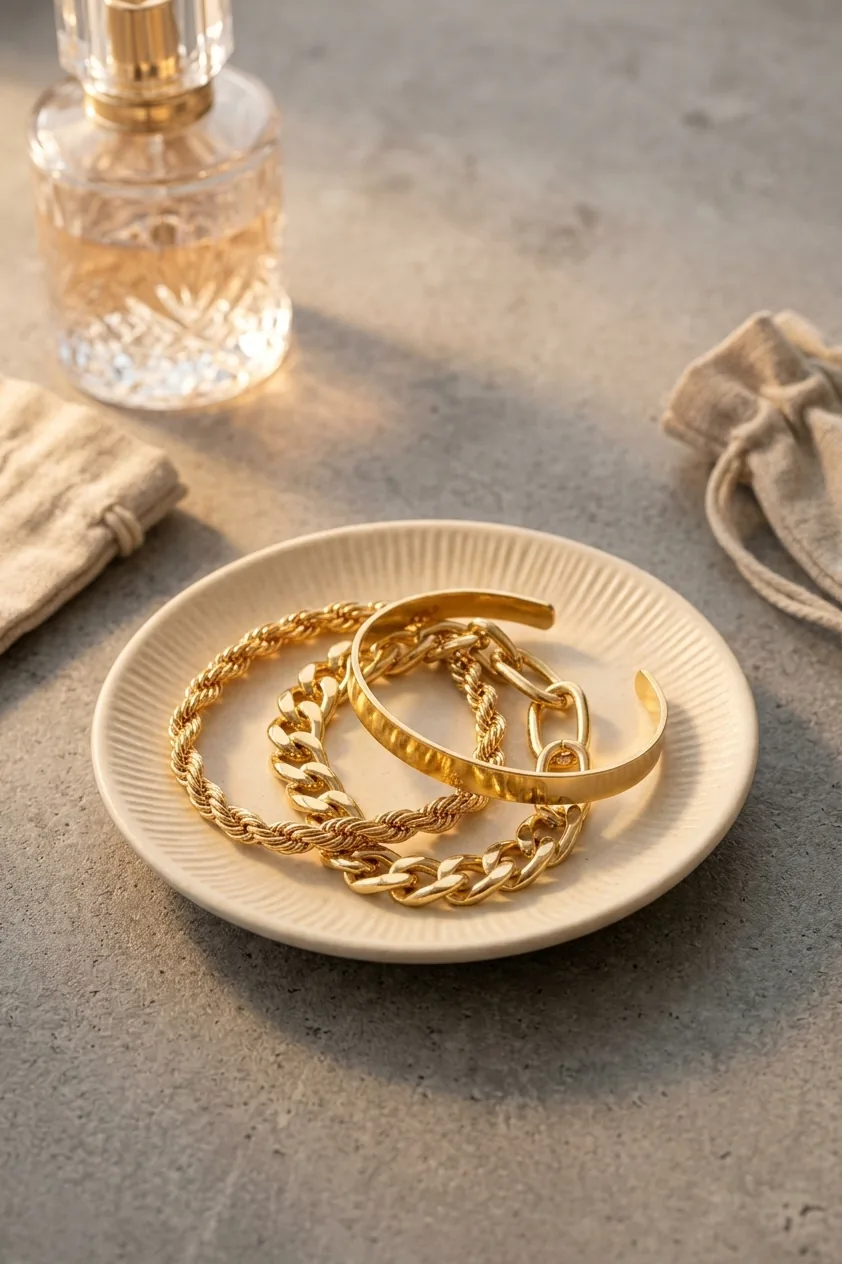
Backgrounds for jewelry work best when they contrast in tone but not in busyness. Four surfaces cover almost every case: white paper for marketplace hero shots, dark slate or charcoal for gold and warm metals, raw linen for a soft editorial look, and a marble tile for anything you want to read as premium.
Avoid glossy surfaces. Acrylic and glass mirror the piece, which doubles the reflections you are already fighting, and a mirrored duplicate underneath makes small pieces look smaller.
On props, the rule is one, occasionally two, always lower in contrast than the jewelry itself. A folded linen napkin, a small ceramic dish, a single dried stem. The moment a prop is shinier or brighter than the product, the eye goes to the prop. Good jewelry photography ideas usually subtract elements rather than adding them.
One hard constraint: if the photo is going to Amazon as a main image, the background must be pure white (RGB 255, 255, 255). Styling belongs in the secondary slots.
4. Camera and Lens: Your Phone Is Probably Enough
The best camera for jewelry photography is whichever one you will actually use for every new SKU. A phone shot on a tripod beats a mirrorless body that stays in a drawer because setting it up takes twenty minutes.
| Setup | Rough cost | Where it wins | Where it falls down |
|---|---|---|---|
| Smartphone + small tripod | $25 to $40 | Fast, good enough for marketplace listings, no learning curve | Limited depth-of-field control, noisy in dim rooms |
| Mirrorless or DSLR + 90 to 105 mm macro | $1,200+ | True 1:1 macro, full manual control, best file quality | Slow per SKU, real learning curve |
| Light box kit | $60 to $200 | Repeatable white backgrounds at volume | Hard light on facets, flat and lifeless results |
If you are on a camera, the best lens for jewelry photography is a short macro in the 60 to 105 mm range. Shoot at ISO 100, between f/8 and f/11 so the whole band stays in focus, and let the shutter run as long as it needs on a tripod.
If you are on a phone, the most useful thing you can do is stop using the main wide lens up close. Switch to the 2x or 3x telephoto, stand further back, and crop afterwards. The wide lens has a minimum focus distance it cannot beat, and it distorts a ring into a slightly bulged shape when you push past it.
Once you have one clean, sharp, well-lit photo of a piece, the rest of the set no longer has to be photographed at all, which is where most of the time savings in a small jewelry business now come from.
One sharp window-light frame is all the input an AI jewelry photo generator needs to build the rest of the set.
5. Sharp Macro Jewelry Photography Without a Macro Lens
Macro jewelry photography looks like an equipment problem and is usually a technique problem. Five things, in order of how much they matter:
- Clean the piece first. Fingerprints and dust are invisible to the eye and glaring at 100% zoom. Microfiber cloth, then handle it with cotton gloves or by the edges only.
- Put the camera on something. A $20 tabletop tripod removes more blur than any lens upgrade. If you do not have one, brace the phone against a stack of books.
- Use the timer. Two seconds is enough for the vibration from your finger tap to settle.
- Lock focus and exposure. On a phone, hold your finger on the piece until the lock indicator appears, then slide down slightly to protect the highlights. Underexposing by a third of a stop is almost always right for reflective metal.
- Shoot wider than you need. Frame a little loose and crop in. A tighter crop from a sharp frame beats a full-frame shot that missed focus by two millimeters.
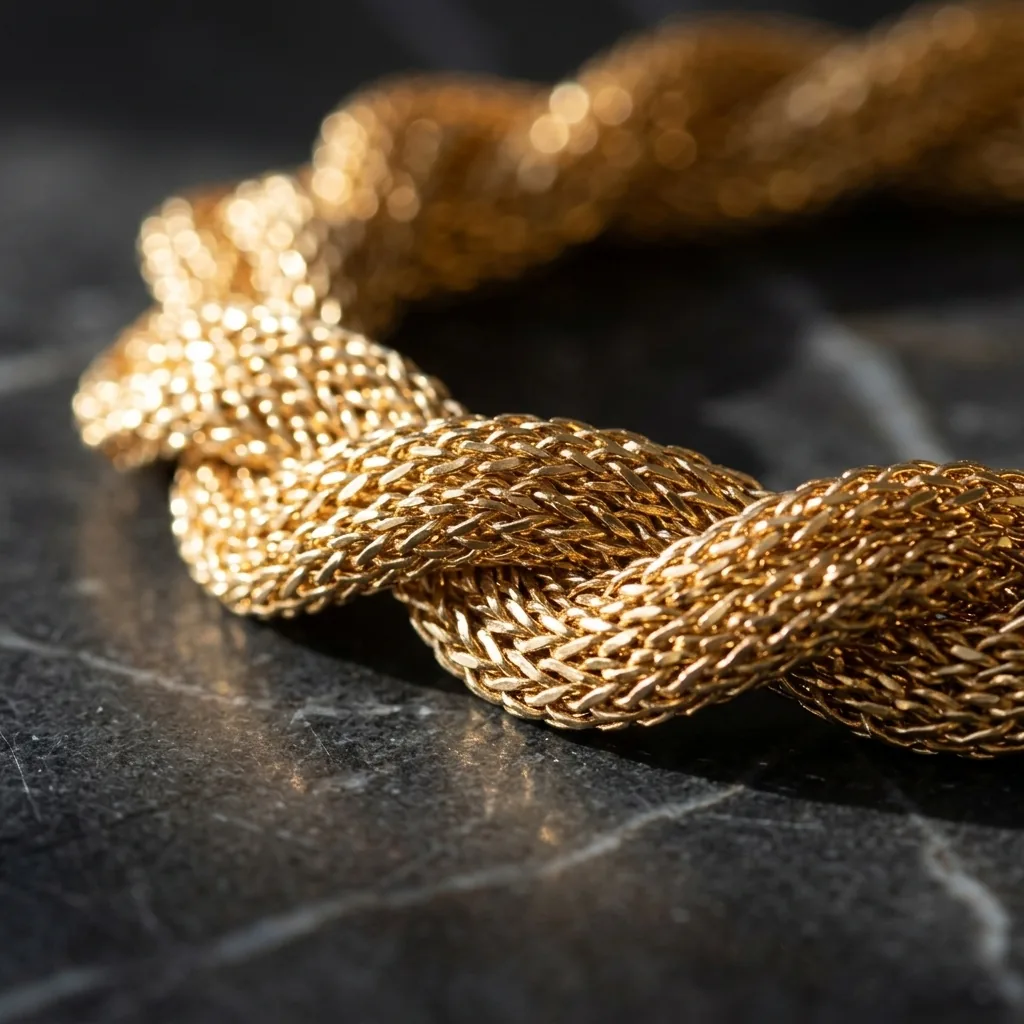
Depth of field at close range is measured in millimeters, so accept that not all of a ring will be sharp in one frame. Focus on the part a buyer inspects: the stone, the setting, the clasp.
6. The Four Shots a Home Setup Cannot Give You
A window and a tripod will get you a clean hero shot and a good detail shot. They will not get you these:
- On-model shots. Jewelry model photography is the highest-converting format in this category because it answers the question every buyer has about scale. It also requires a model, a hand or ear that photographs well, and a second person to shoot.
- Lifestyle scenes. A vanity tray in golden hour light, a beach, a café table. Each is a location, a permit sometimes, and a half day.
- 360 jewelry photography. A spin needs a motorized turntable and consistent lighting across every frame.
- Seasonal and campaign variants. The same necklace against autumn tones in September and against something festive in December means reshooting the same piece four times a year.
For a small catalog, a traditional shoot covering these runs into hundreds of dollars per SKU once you count the model, the location and the retoucher. Generating them instead is what changes the math: our own customers average about $20 saved per SKU and roughly 90% lower production costs, with a 7.6% average lift in listing CTR from the added shot variety.
Worth separating two different jobs here. Retouching cleans up a photo you already took: dust removal, background swap, reflection repair. Generation produces a photo that never existed, like the same earring on a model in daylight. An AI jewelry photo generator does the second, and it works from the single clean photo your window setup just produced.
7. How to Photograph Jewelry at Home in 20 Minutes
The full workflow, for one piece, assuming nothing but a phone, a window and a sheet of paper.
- Clean the piece with a microfiber cloth. Two minutes, and it saves ten in editing.
- Set up by the window. Piece 30 to 50 cm from the glass, side-lit, sheer curtain across the glass if the light is direct.
- Kill every other light in the room.
- Lay the background. White paper for the hero shot, dark slate or linen for detail shots.
- Stand the bounce card on the shadow side, 15 cm away, angled back toward the piece.
- Mount the phone on the tripod, switch to the 2x or 3x lens, tap to lock focus on the stone or clasp, drop exposure slightly.
- Shoot six to eight frames: straight-on hero, three-quarter, top-down, one tight detail of the clasp or setting, and two variations of angle. Use the 2-second timer for every one.
- Pick the sharpest frame and use it as the source for everything else: on-model, lifestyle, white-background marketplace version, and the video loop.
Step 8 is the one that changed. Five years ago your photo set was capped by how many setups you could physically build. Now one good frame is the input, and the rest of the set is an output.
For more on which of those shots to lead with in a listing, browse the rest of our jewelry and accessories photography guides.
Frequently asked questions
No. A light box mainly guarantees a consistent white background, not good light. A north-facing window with a sheer curtain gives you a much larger, softer source than a small box, which is what keeps facets from blowing out. Buy a tripod before you buy a box.
On a camera, use ISO 100, aperture f/8 to f/11 for enough depth of field across a ring band, and let the shutter run long on a tripod. On a phone, lock exposure and focus by holding your finger on the piece, then drop exposure slightly to protect the highlights.
Most blur is either camera shake or a missed focus plane. Put the phone on a tripod, use the 2-second timer, and switch to the 2x or 3x telephoto lens instead of pushing the wide lens closer than its minimum focus distance. Then crop in afterwards.
Yes, provided the image represents the real product accurately and the main listing image meets the marketplace background rules. Amazon still requires a pure white background on the main image. Use generated lifestyle and on-model shots in the secondary slots, where they do the persuading.
Daria Bazankova
Writes about e-commerce imagery and AI at Amplyar.