Jewelry model photography: how to get on-model shots without a model
Jewelry model photography without casting or a shoot day: what an on-model shot has to prove, what it costs, and how to generate one from a single product photo.
 Daria BazankovaPublished 13 Aug 20269 min read
Key takeaways
- Jewelry model photography answers the question a white-background photo cannot: how large the piece actually is on a body. Scale uncertainty is the most common reason a jewelry listing is abandoned at the image gallery.
- A traditional on-model shoot runs into four figures once the model, photographer, studio, styling and usage license are counted, which is why most small sellers never produce one.
- The crop matters more than the model. A ring is sold by a relaxed hand, an earring by a clean jawline, a necklace by a collarbone, and each has a different framing.
- Generated on-model jewelry photography places your real, already photographed piece into a new scene, so the product stays accurate while the person, light and background are produced.
Look at any jewelry listing that converts well and count the images with a person in them. There is almost always at least one, usually in the second or third slot, and it is doing a job no other photo in the set can do. A ring on white seamless tells a buyer what it looks like. A ring on a hand tells them what it will look like on their hand, which is the only question they are actually trying to answer. Jewelry model photography exists to close that gap.
The problem is that this one photo has historically been the most expensive image in the whole set. It needs a person, a photographer who can light skin and polished metal in the same frame, and a license to use the resulting face commercially. This guide covers what the shot has to prove, what it costs to produce the traditional way, how to frame it for each type of piece, and how sellers are now producing it from a single product photo instead.
If you have not shot the piece itself yet, start with our complete guide to jewelry product photography because everything below assumes you already have one clean, sharp photo of the product on its own.
What an on-model shot proves that a studio shot cannot
A product shot on a white background is a specification. A worn shot is evidence. They answer different questions, and a listing needs both.
Four things only appear when the piece is on a person:
- Scale. “18 mm pendant” means nothing to most buyers. A pendant sitting at the collarbone means everything. Returns in this category are driven more by size surprise than by quality complaints.
- Proportion against a body. A cuff that looks delicate on white can look heavy on a wrist, and buyers want to know which one it is before paying.
- Drape and movement. Chains, drop earrings and layered necklaces behave differently when gravity is involved. A flat lay hides that completely.
- Aspiration. This is the part luxury jewelry photography has always understood: buyers are not purchasing an object, they are purchasing a version of themselves wearing it.
The order matters too. A white-background hero belongs first, because marketplaces require it and because it reads as a catalogue entry. The worn shot belongs immediately after, while the buyer is still deciding whether to keep scrolling.
What jewelry model photography actually costs
The reason on-model shots are rare in small catalogues is not that sellers do not want them. It is the invoice.
| Line item | Typical range | Notes |
|---|---|---|
| Hand or jewelry model | $150 to $600 per half day | Specialist hand models sit at the top of that range |
| Photographer | $400 to $1,500 per day | Jewelry is a specialism, and it is priced like one |
| Studio and lighting | $200 to $600 per day | Skippable only if you already own a space |
| Styling and manicure | $80 to $250 | A visible chipped nail invalidates the whole shot |
| Retouching | $15 to $60 per image | Skin, reflections and the metal itself |
| Usage license | Varies, often annual | A face has a shelf life your product does not |
For a seller with twelve pieces, that is a four-figure day producing perhaps twenty usable frames, none of which can be reshot cheaply when a new colorway arrives. Across our own customers the shift away from that model averages about $20 saved per SKU and roughly 90% lower production costs, with a 7.6% average lift in listing click-through rate from the added shot variety.
The shot list, piece by piece
Good jewelry photography ideas for on-model work are mostly framing decisions, not location decisions. Each category of piece has one crop that sells it.
Rings and bracelets: the hand does the work
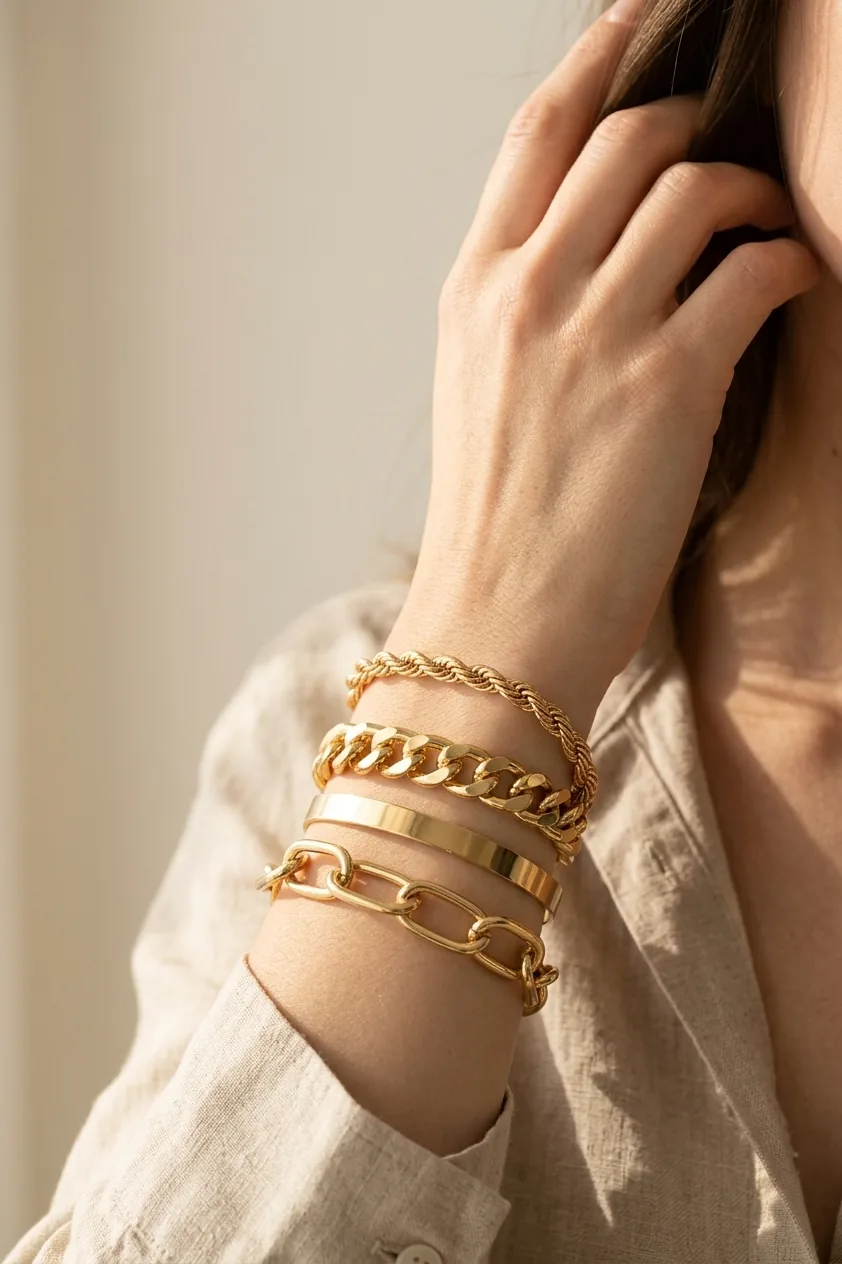
A hand in a photograph is either relaxed or it is distracting. Fingers should be slightly curved, never splayed flat, and the ring should sit at a three-quarter angle so the setting reads dimensionally instead of as a flat disc. Resting the hand against a jaw, a collarbone or the opposite forearm gives the fingers a reason to be where they are, which is what makes the pose look unposed.
For bracelets and bangles, shoot the wrist turned slightly inward. A wrist square to the camera flattens the band into a circle and loses the profile of the piece entirely.
Earrings and necklaces: the crop is the decision
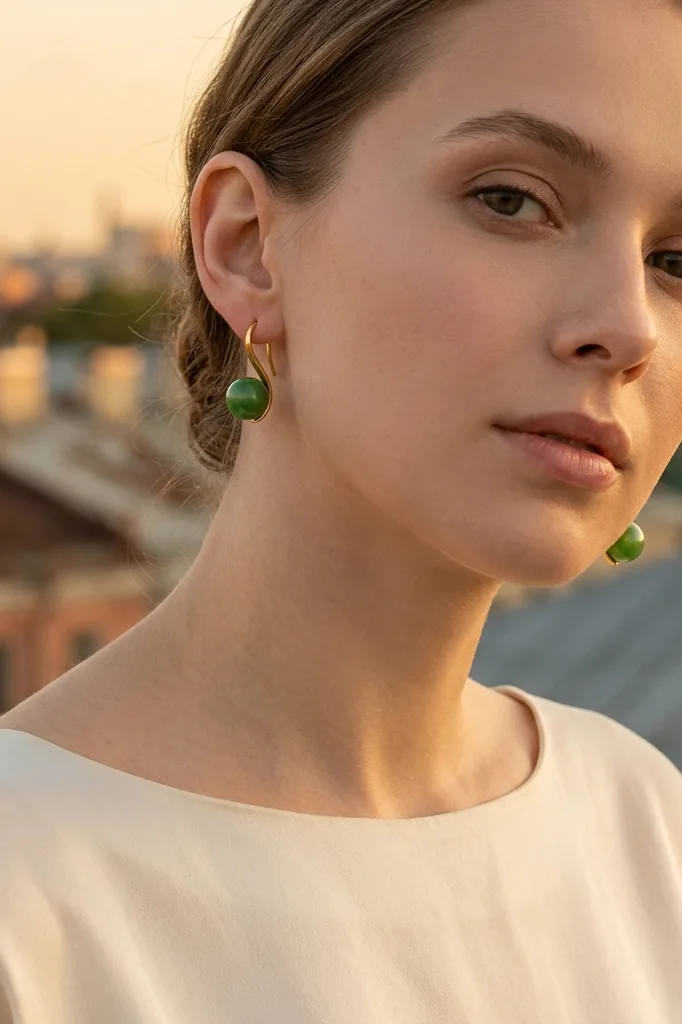
Earrings live in profile or near-profile, with the hair pulled back and the jawline clean. The single most common failure is a stray hair crossing the stone, which macro jewelry photography then makes impossible to ignore at full zoom.
Necklaces need the collarbone in frame, because that is the landmark buyers use to judge chain length. Cropping above it removes the only reference point in the picture. Keep the neckline of the garment simple and low in contrast, so the metal is the brightest thing in the frame.
Skin, metal and light: where jewelry model photography goes wrong
Skin and polished metal want opposite treatment. Skin looks best under soft, slightly diffused light. Faceted stones need a bit of hardness to produce any sparkle at all. Lighting for one usually ruins the other, and this is the specific technical reason jewelry model photography is a specialism rather than an ordinary portrait job.
The working compromise is a large soft source for the person plus one small, controlled highlight aimed only at the piece. On a shoot that is a second light or a mirror card. What it produces is a frame where the skin is smooth and the stone still has a catch of light in it.
Two more failures worth naming, because both are expensive to fix afterwards:
- Color cast from clothing. A red sleeve throws red onto white gold. Neutral, low-saturation garments are jewelry photography props in everything but name, and they should be chosen as deliberately as any prop on a flat lay.
- The photographer in the stone. A polished band is a curved mirror with an almost 180-degree field of view, so it picks up the room, the camera and the crew. On a body, at a slight angle, this is easier to control than on a table, but it still requires checking at 100% before the shoot moves on.
Skin and metal fight each other under one light, which is why an AI jewelry model generator builds the person around the piece instead of the other way round.
Casting: one model is never enough
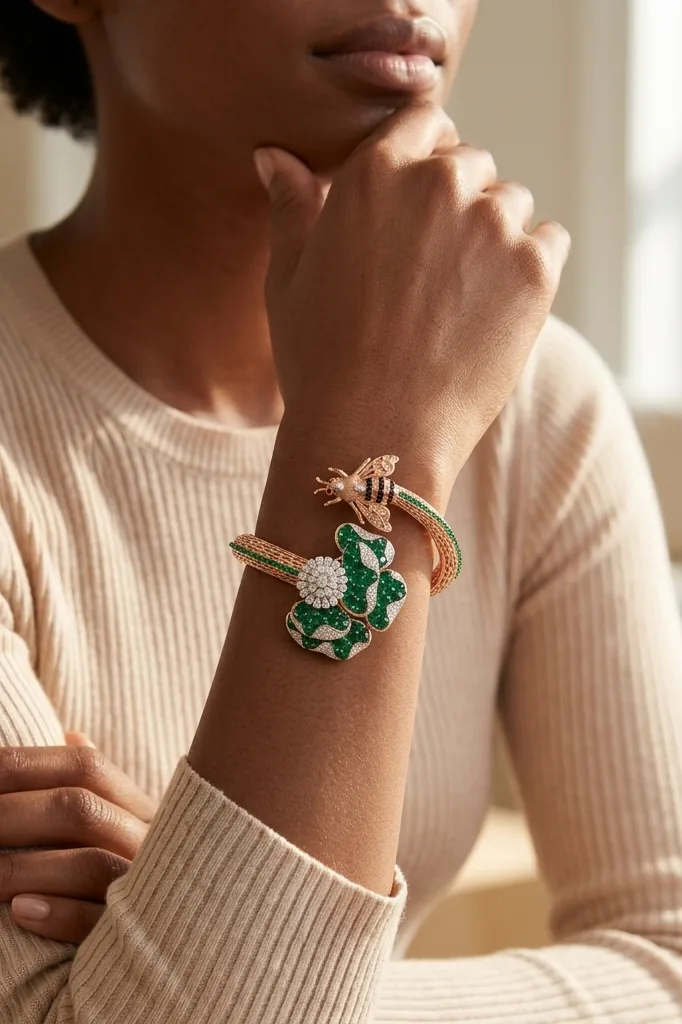
Jewelry sits directly on skin, and metal reads differently against different skin tones. Yellow gold that looks warm and rich on deep skin can look sallow against very pale skin under the same light. Silver and white gold behave in the opposite direction. If your entire on-model set uses one model, you have shown your product accurately to one part of your audience and approximately to everyone else.
Hand shape matters in the same way. A ring photographed on long, slim fingers sets an expectation, and a buyer with different hands may read it as a mismatch and leave. Two or three visibly different hands across a set of listings removes that friction at zero cost to the brand.
This is a real constraint on a physical shoot, since every additional model is another fee, another release and another slot in the day. It is not a constraint at all when the person in the frame is generated.
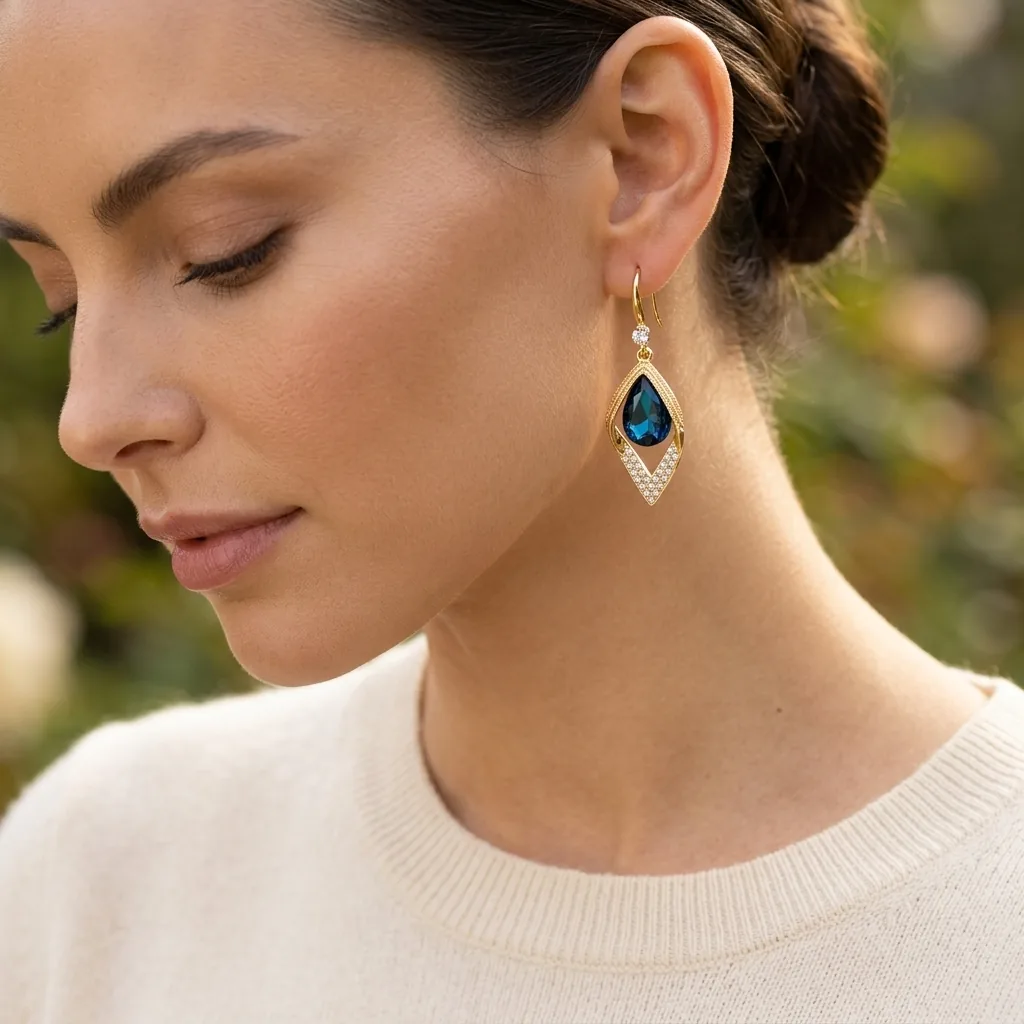
Generating on-model jewelry photography from one product photo
The practical alternative is to photograph the piece once, cleanly, and generate everything worn from that single frame. The distinction that matters: your product is not being redrawn. It is being placed into a scene that is produced around it, which is why the stone, the setting and the finish stay exactly as you photographed them.
The flow is short:
- Shoot the piece on its own. Sharp, evenly lit, on a plain background. If you need the setup for that, our guide to photographing jewelry at home covers it with a window and a sheet of paper.
- Choose the scene and the framing. Hand at the jaw, ear in profile, collarbone, wrist turned in. This is where the shot list in section 3 becomes an input.
- Vary the model, not the product. Generate the same piece against two or three skin tones so the set covers your actual audience.
- Check the contact points. The place to inspect a generated worn shot is where product meets person: the earring hook through the lobe, the clasp at the nape, the band against the finger.
Buyers can also be put into the frame themselves rather than a model, which is the virtual try-on question (“what would I look like with these earrings”). That is a different tool with different mechanics, and it gets its own guide shortly. For catalogue and listing imagery, generated on-model shots are the piece that replaces the shoot day.
A brief you can hand to a photographer or a generator
The same eight points work whether a person or a model is producing the image. Written down, they are also what stops a shoot day drifting.
- Piece and hero angle. Which face of the item must be readable in every frame.
- Body placement. Hand, ear, neck, wrist. One per shot, chosen from section 3.
- Crop. Where the frame cuts. Collarbone in for necklaces, jawline clean for earrings.
- Skin tone coverage. How many, and which. Two minimum.
- Garment. Neutral, matte, low contrast, never brighter than the metal.
- Light shape. Soft on skin, one controlled highlight on the stone.
- Background. Plain for marketplace slots, environmental for ads and social.
- Output sizes. Square for the listing grid, vertical for social, one 4K master for print and ads.
Keep the brief with the product photo, not in someone's head. It is the difference between a set of images that look like one brand and a set that looks like six different shoots.
For the rest of the category, browse our jewelry and accessories photography guides.
Frequently asked questions
Hand and jewelry models are commonly quoted at a few hundred dollars for a half day, before the photographer, studio, styling and usage license. Once retouching is added, a modest on-model set for a handful of pieces reaches four figures quickly, which is why most small sellers skip it.
One is enough to answer the scale question, two is better. Use a worn shot in the second or third image slot, after the white-background hero, and keep a macro detail nearby so a buyer can check the setting and the finish without leaving the gallery.
The piece stays exactly as photographed, because generation places your real product into a new scene rather than redrawing it. What is generated is the person, the light and the background. Check the contact points, such as an earring hook or a clasp, before publishing.
Yes, as long as the image represents the real product accurately. Amazon still requires a pure white background with no model on the main image, so worn shots belong in the secondary slots. Etsy and Shopify have no such restriction on any slot.
Daria Bazankova
Writes about e-commerce imagery and AI at Amplyar.